Finally getting back to this post, over a month later, which should give some indication of the pacing of this project thus far. Oh well.
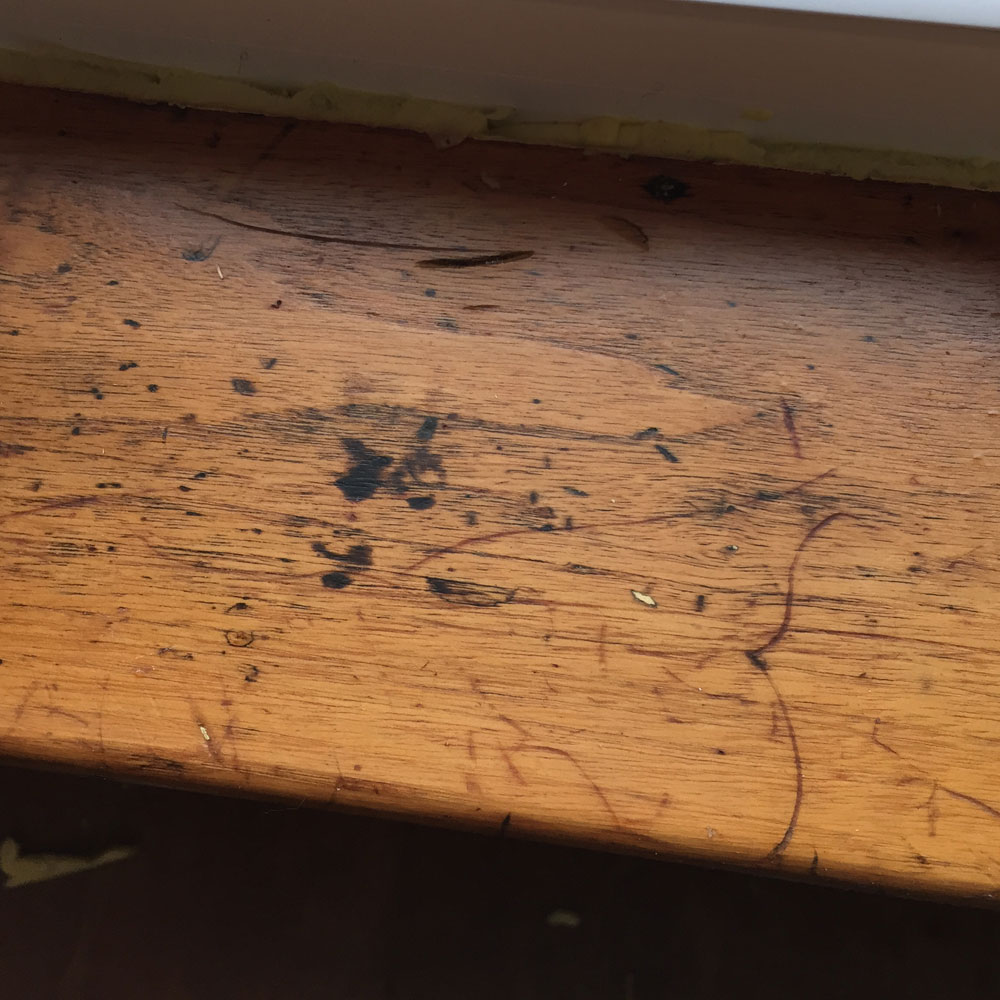
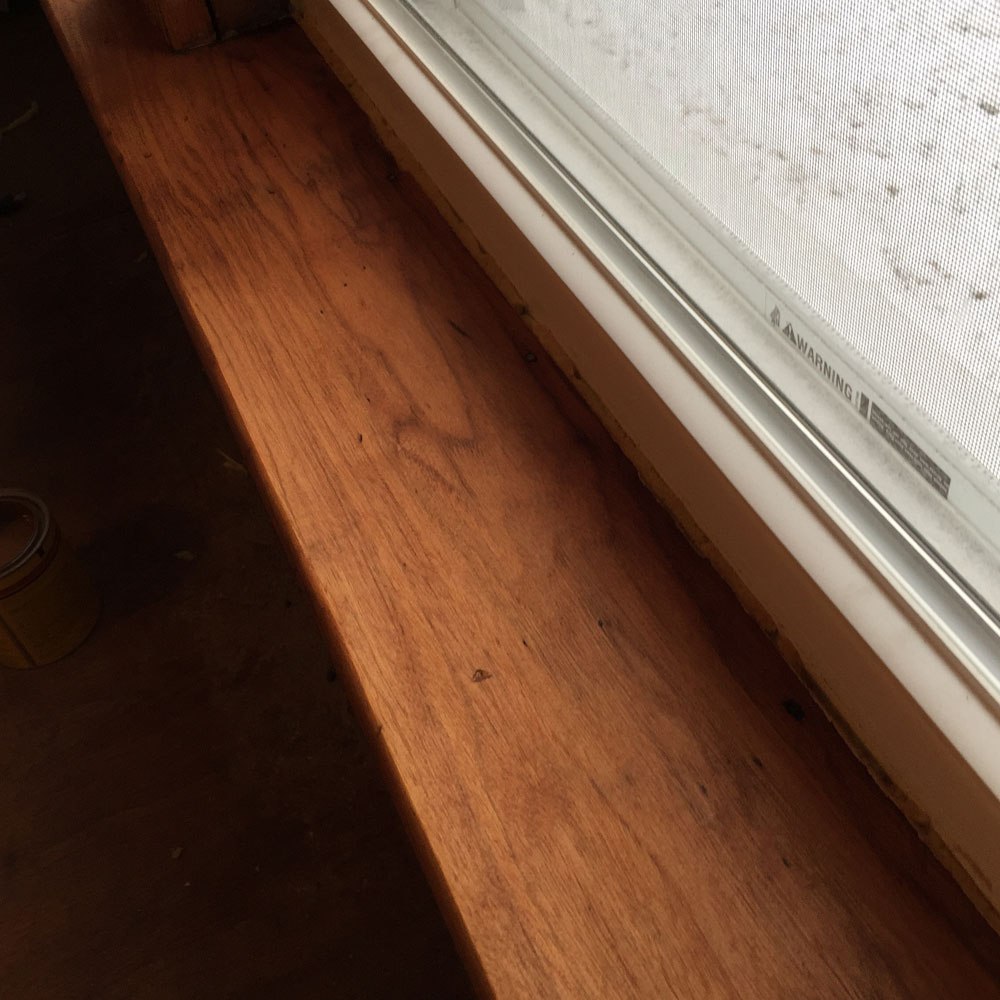
Before I could install the trim, I decided to refinish the sills on the windows, because they were in pretty rough shape and I decided that it wouldn’t be too difficult as they are the flattest part of the window trim.
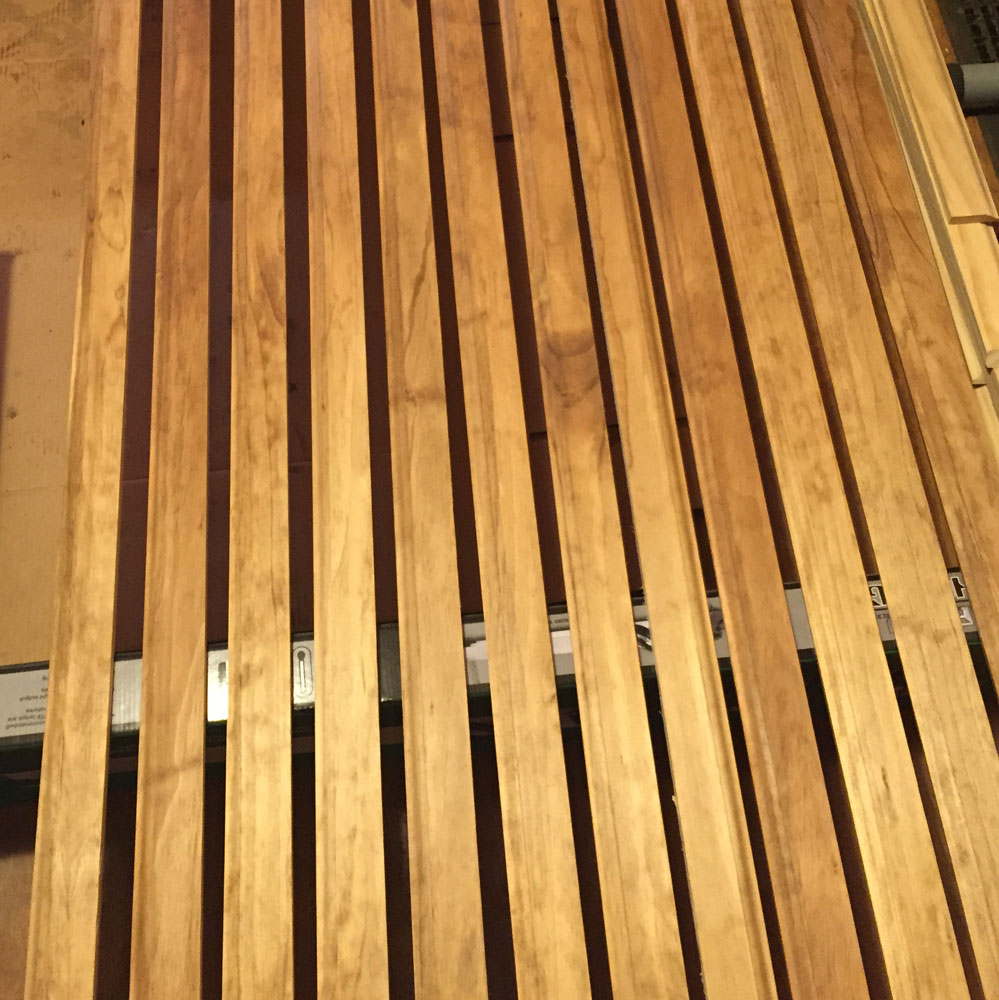
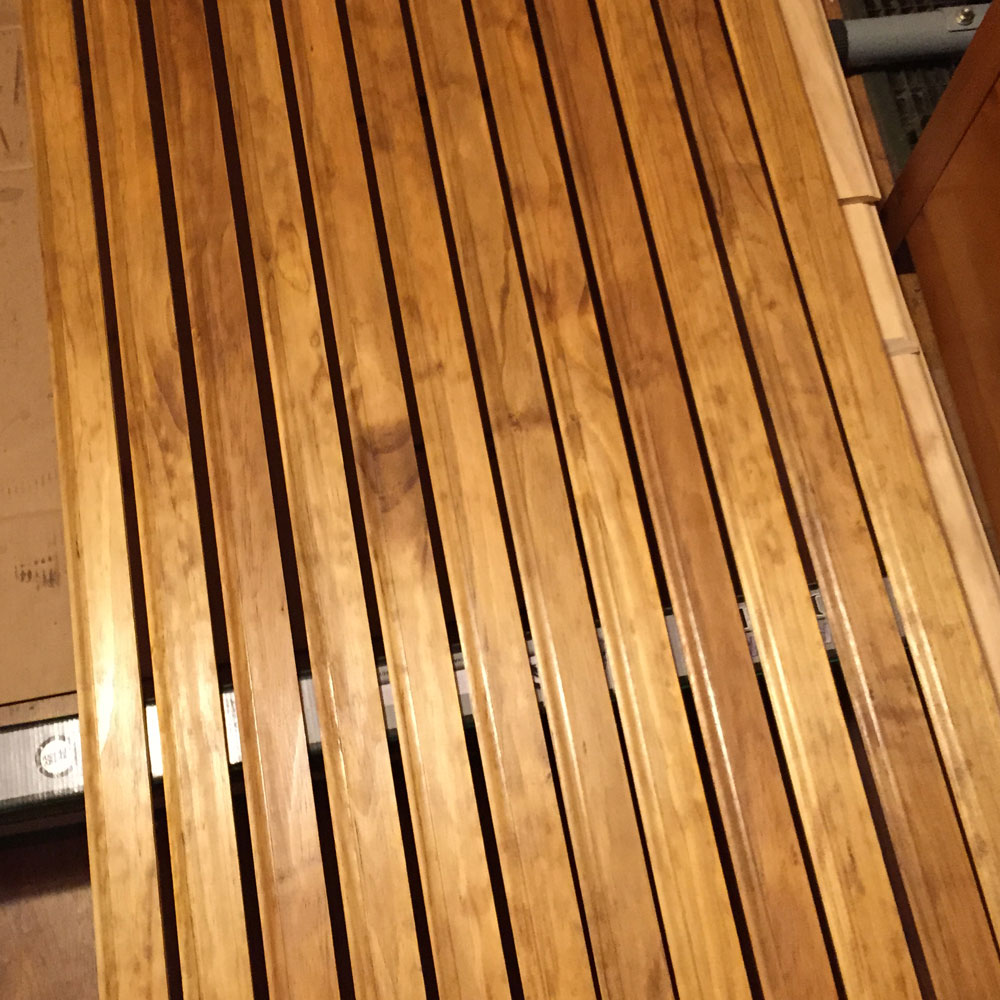
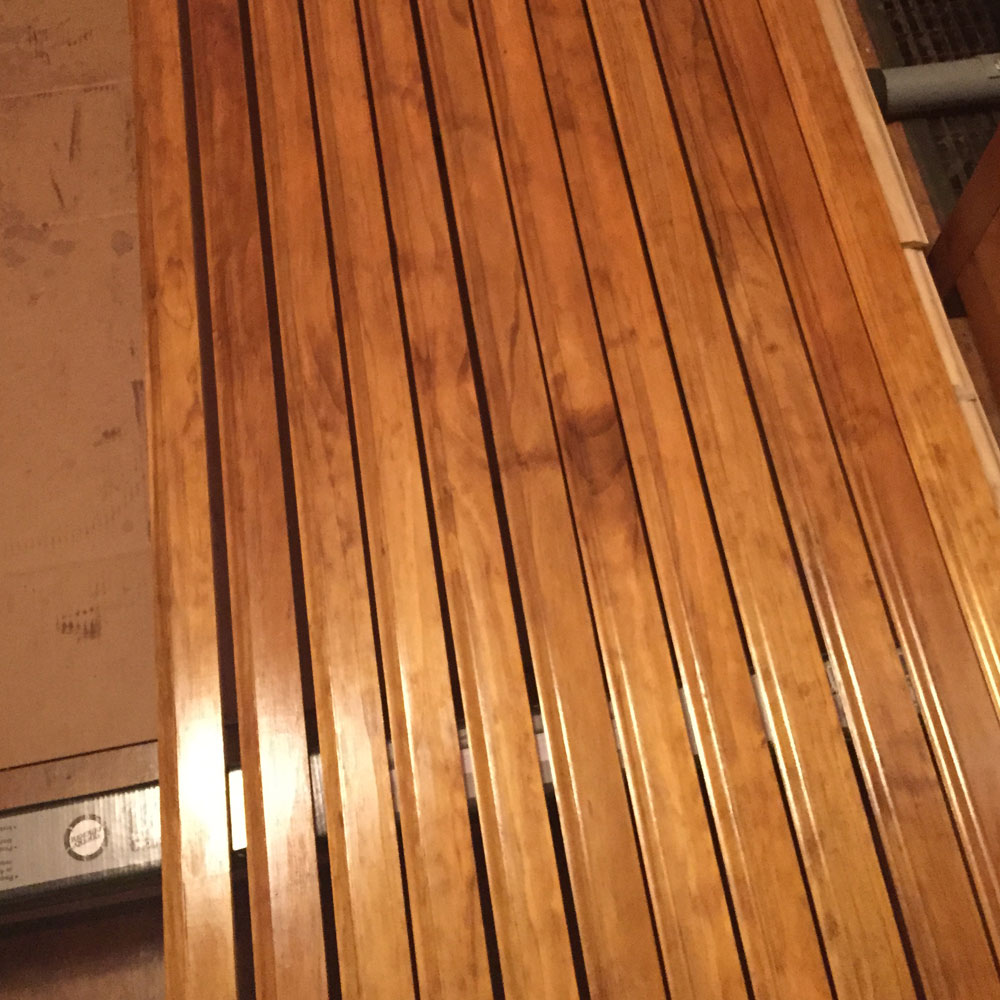
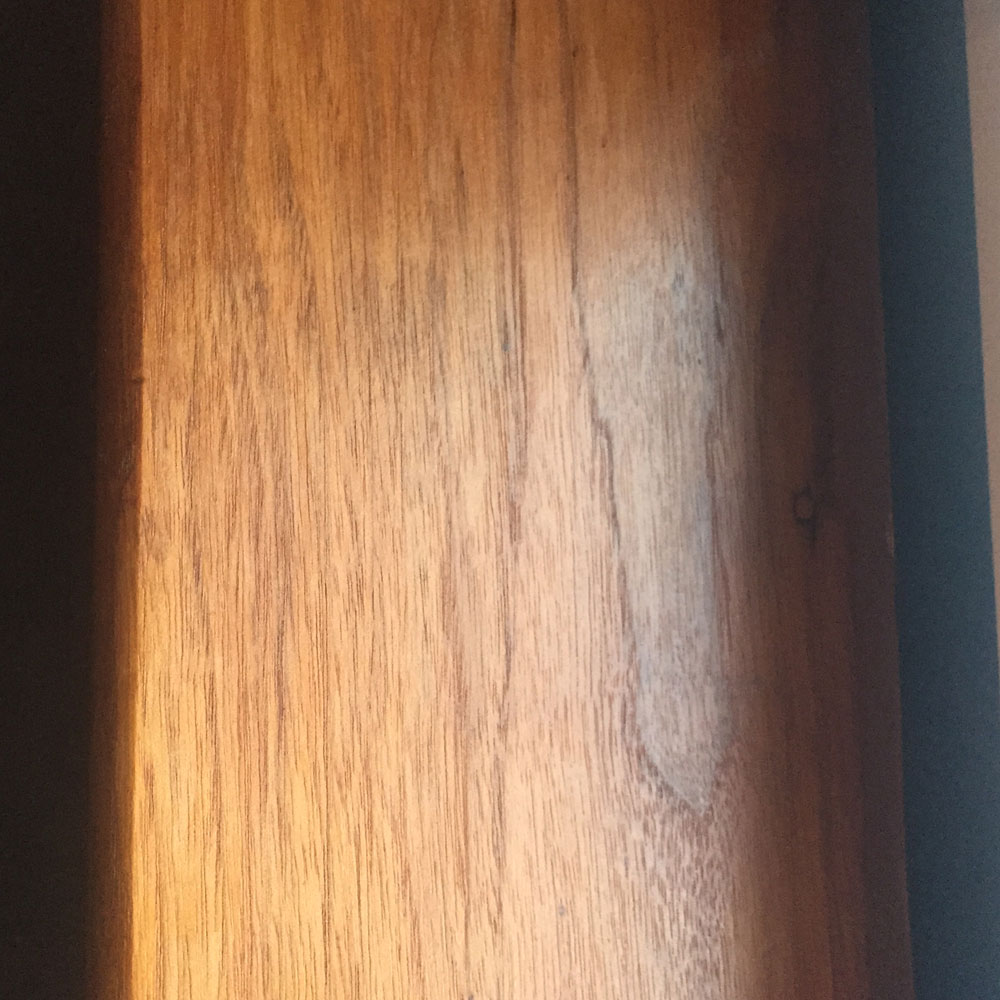
The new trim was cut and planed, but the pine I used is much lighter than the old wood, so I needed to make it match. I went through a long process of trial and error with pieces of scrap wood before I found a stain mixture that I liked. The process was exacerbated by the three coats of amber shellac I needed to get the same shine as the old wood, but the end result is pretty nice.
Using my normal methods of trial and error, I ended up sanding down these sills pretty heavily, where maybe a less destructive stripping method might have been better, but the results are okay.
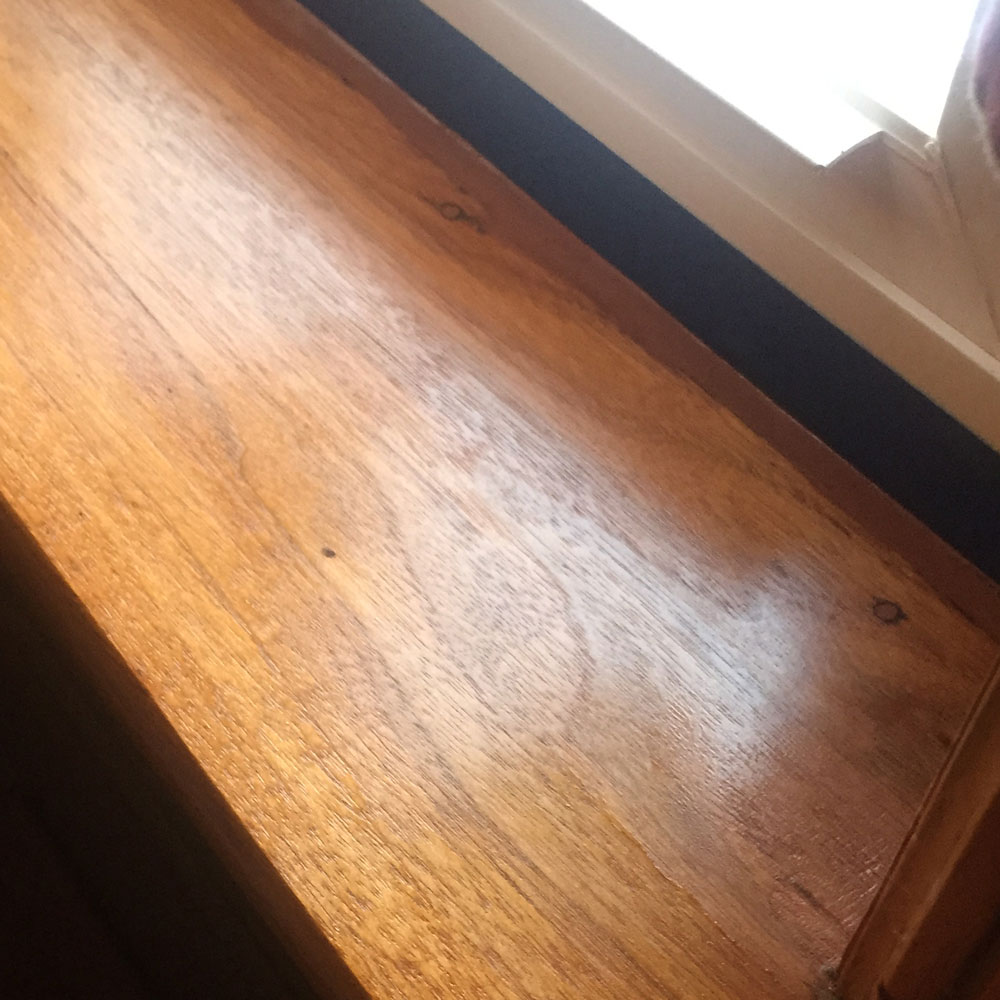
During my first sanding, I just cleared the major areas of the sill, and then stained them. I realized however that the transition from new to old was too visible and that I’d have to get the whole piece bare.
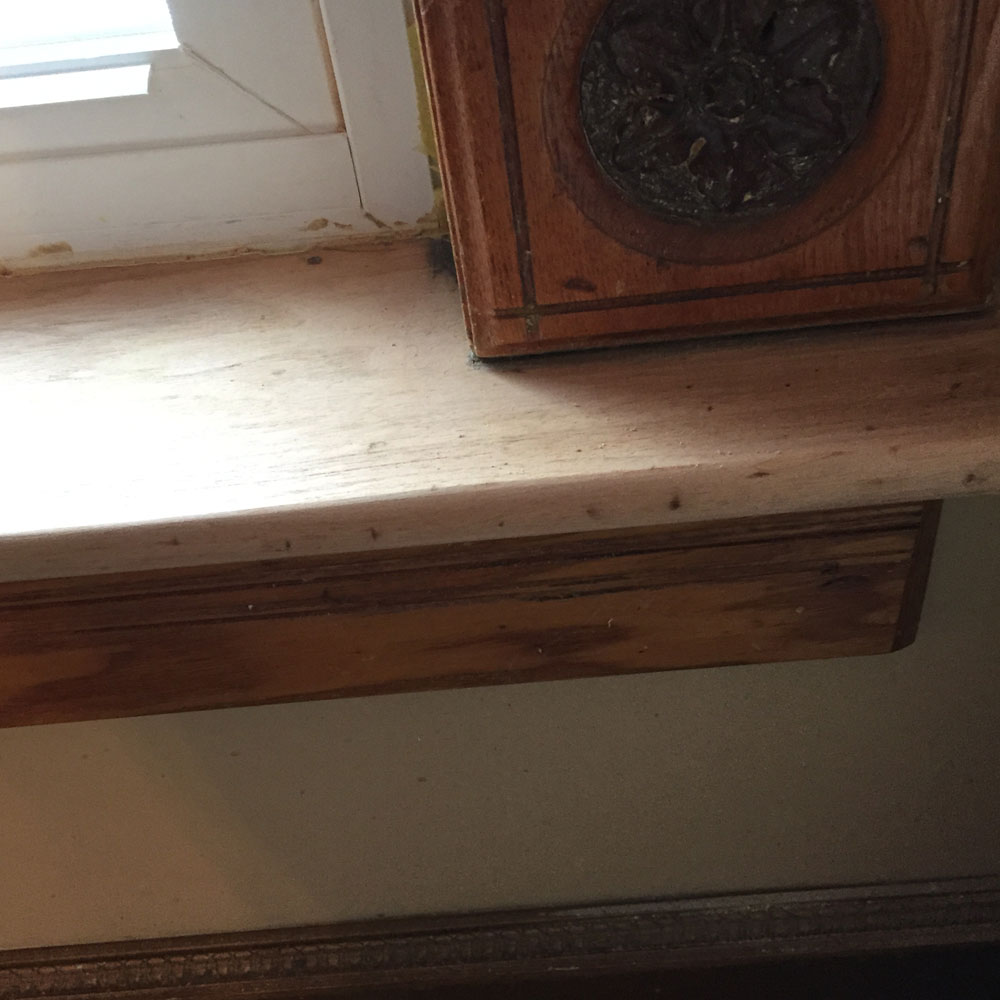
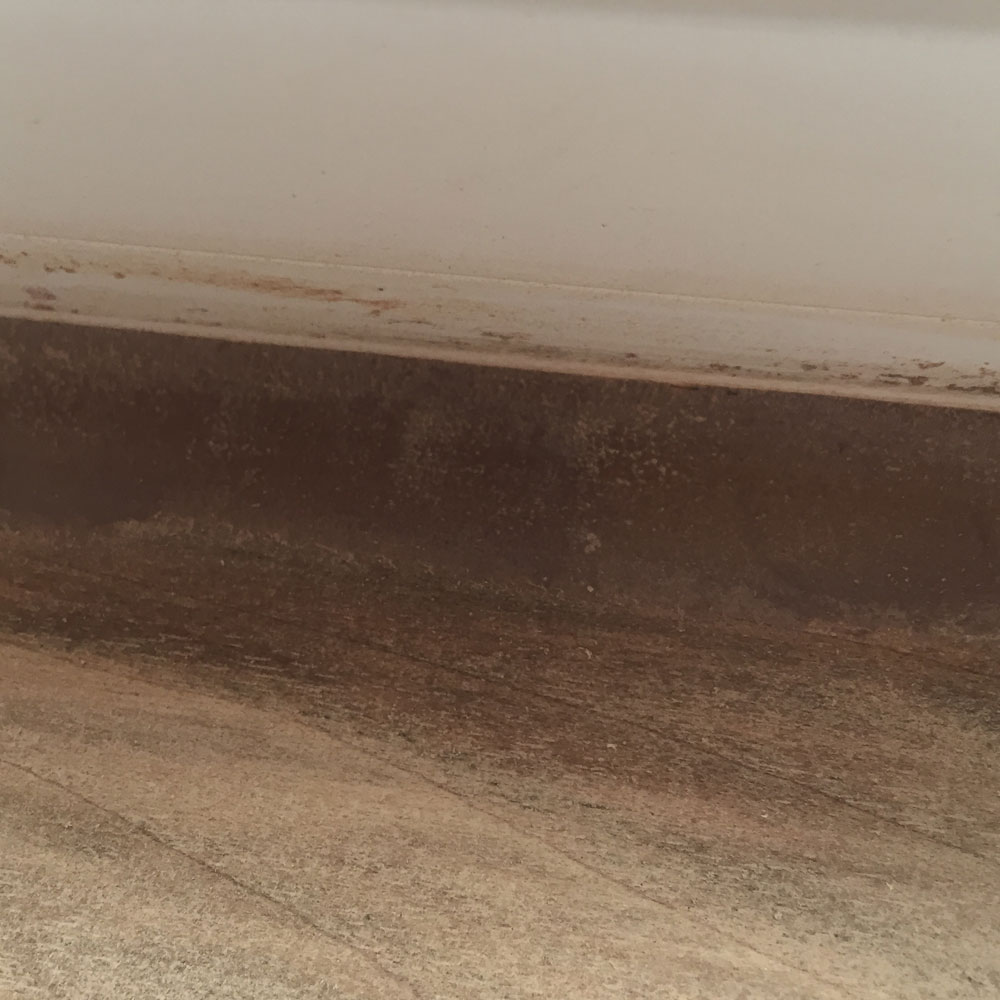
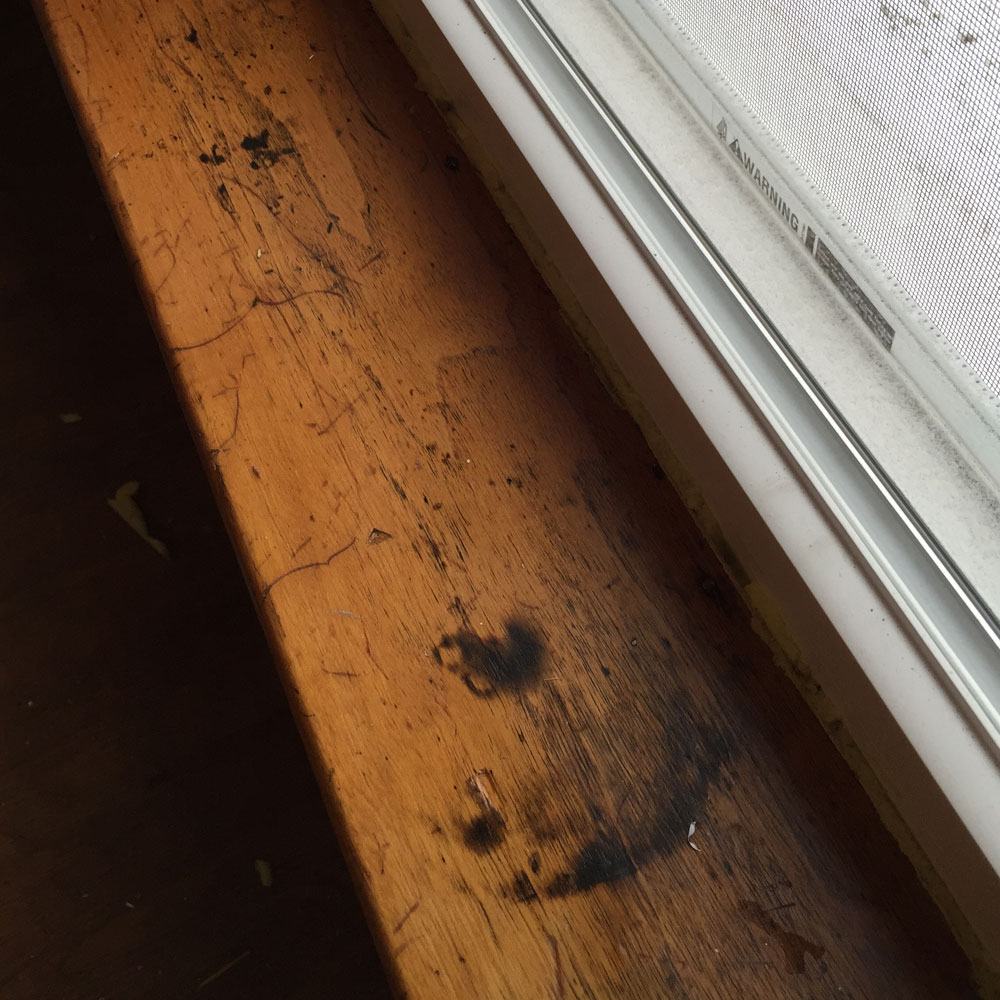
Once I had the entire sill down to bare wood, I used filler putty in the gap between the sill and the vinyl windows. In the second image you can see where I scuffed up the vinyl some with the palm sander. I’m still working out a solution for that, though a good cleaning may suffice.
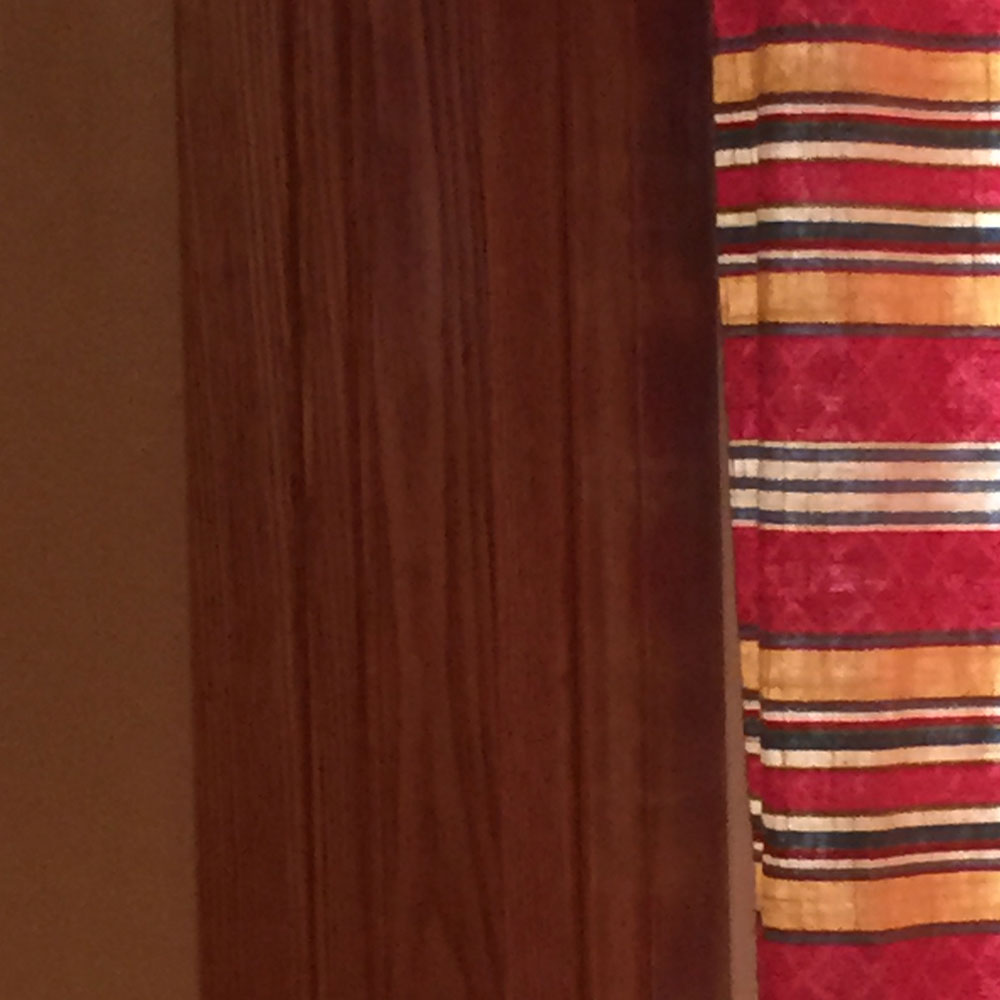
These pieces are already the same reddish color as the surrounding trim, so they didn’t need the stain mixture I used on the new wood. Two coats of natural tint stain and two of the amber shellac did the trick just fine.
After that whole ordeal, I was finally ready to install the new trim pieces.
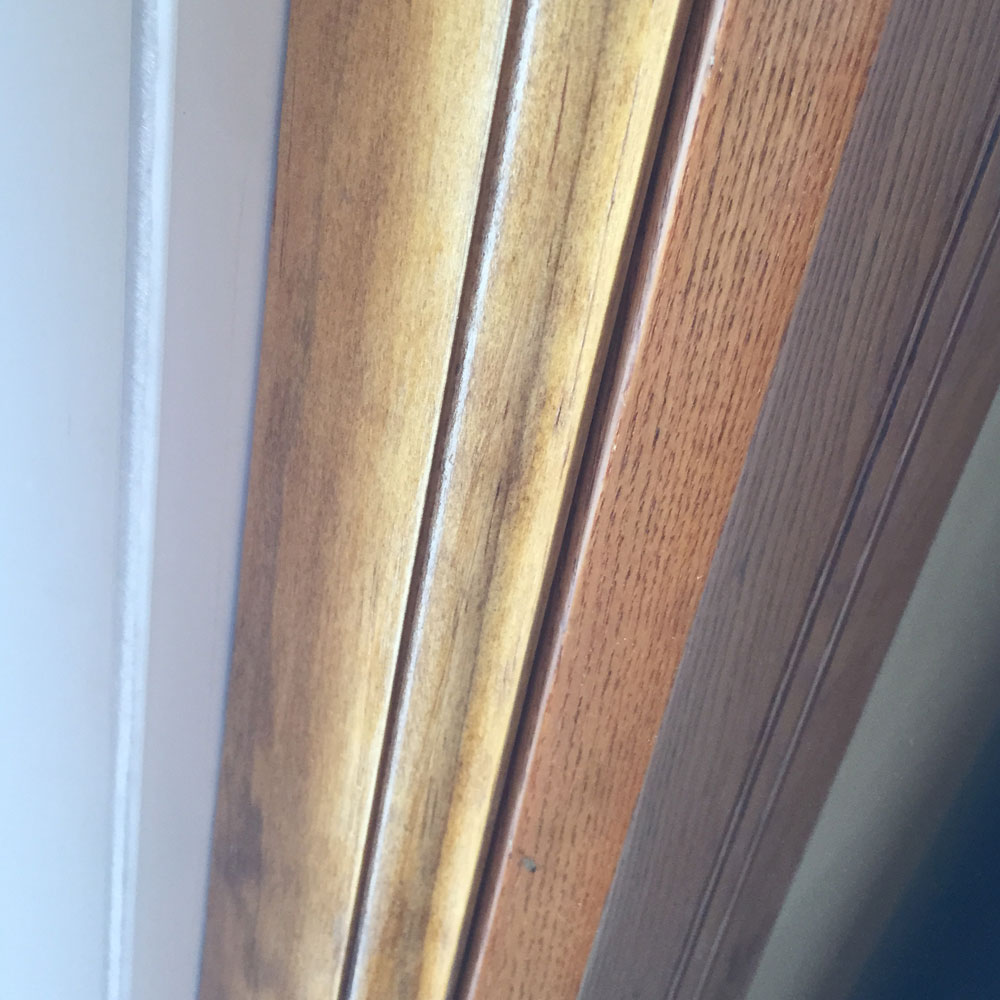
In the center image you can see most clearly the difference between the old and new, but even there none but the most obsessive observer like me would never notice.
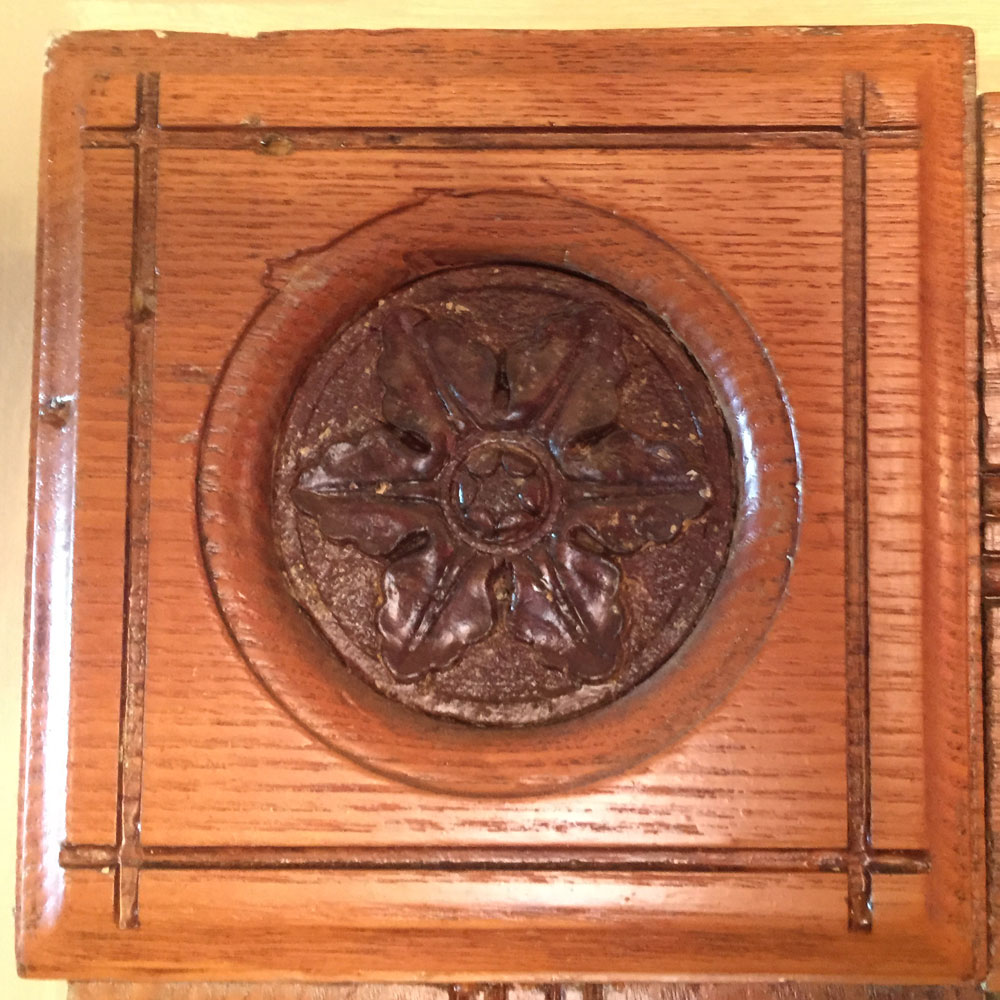
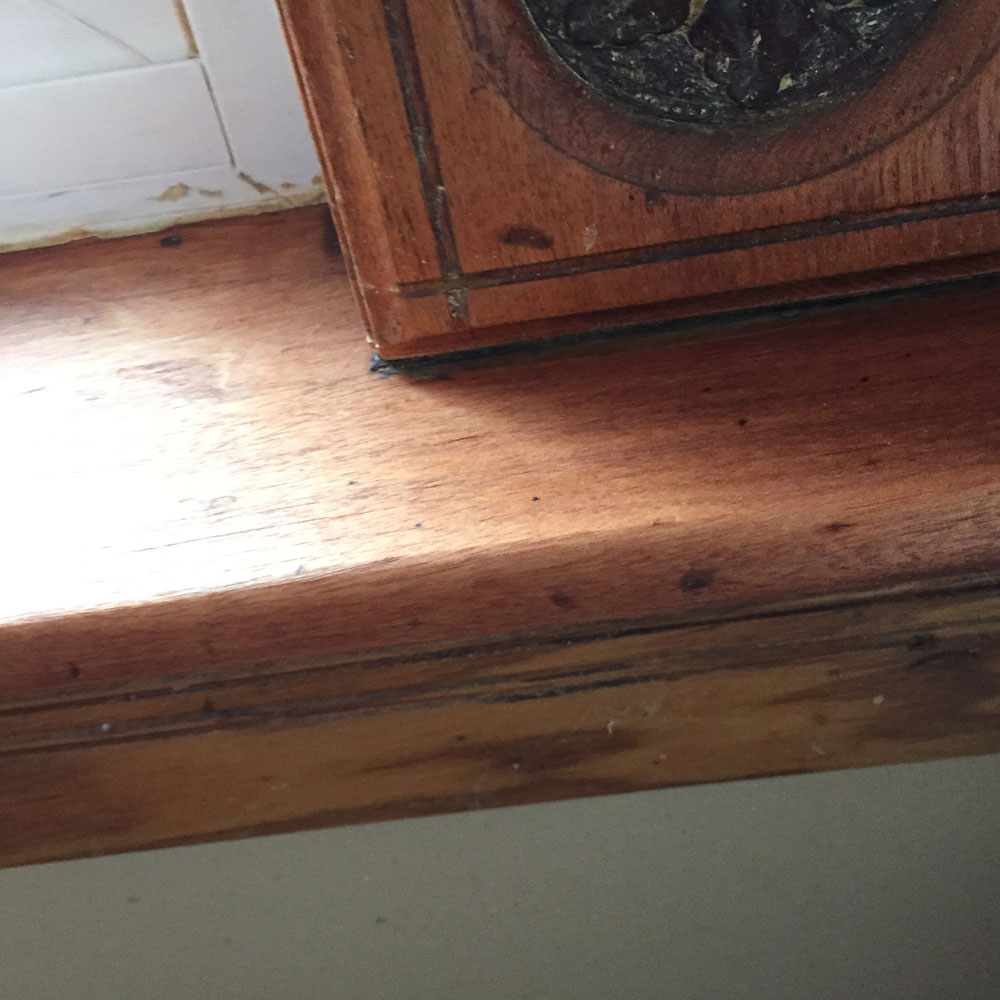
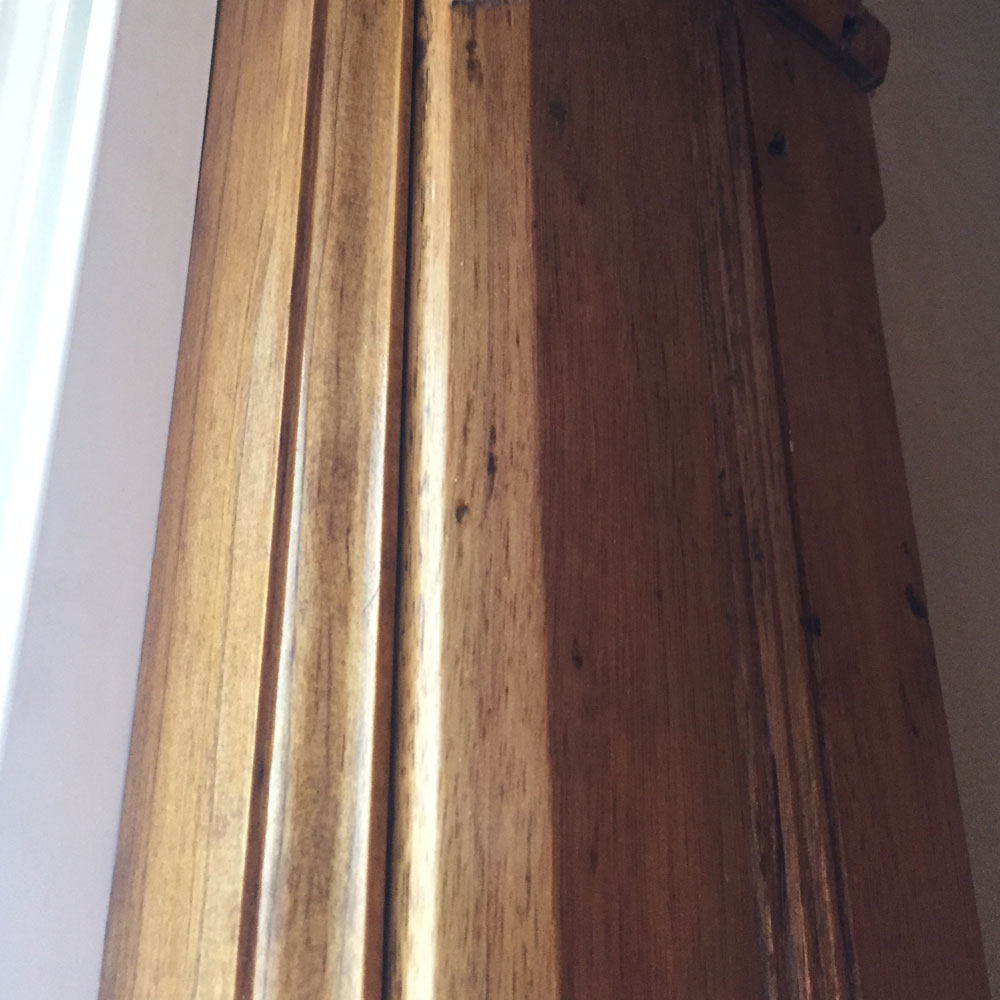
The remaining potential project is to repair or replace these rosettes. In the living room alone there are three completely different styles, and while these are pretty nice, some are in pretty rough shape, and the other style is awful.
Matching these with new wood will be almost impossible though, so we’ll see what we end up doing.
Along with today’s post I’ve tweaked the theme to include the site name in the header, as a “home” link. I’ve also installed a lightbox plugin for images, so you can see all the grainy details of my iPhone photos.
My next few posts will be more side project “craft” type stuff, stay tuned.