Some long overdue updates are coming soon, in the meantime I thought I’d share my step-by-step process for installing new doorknobs in old doors.
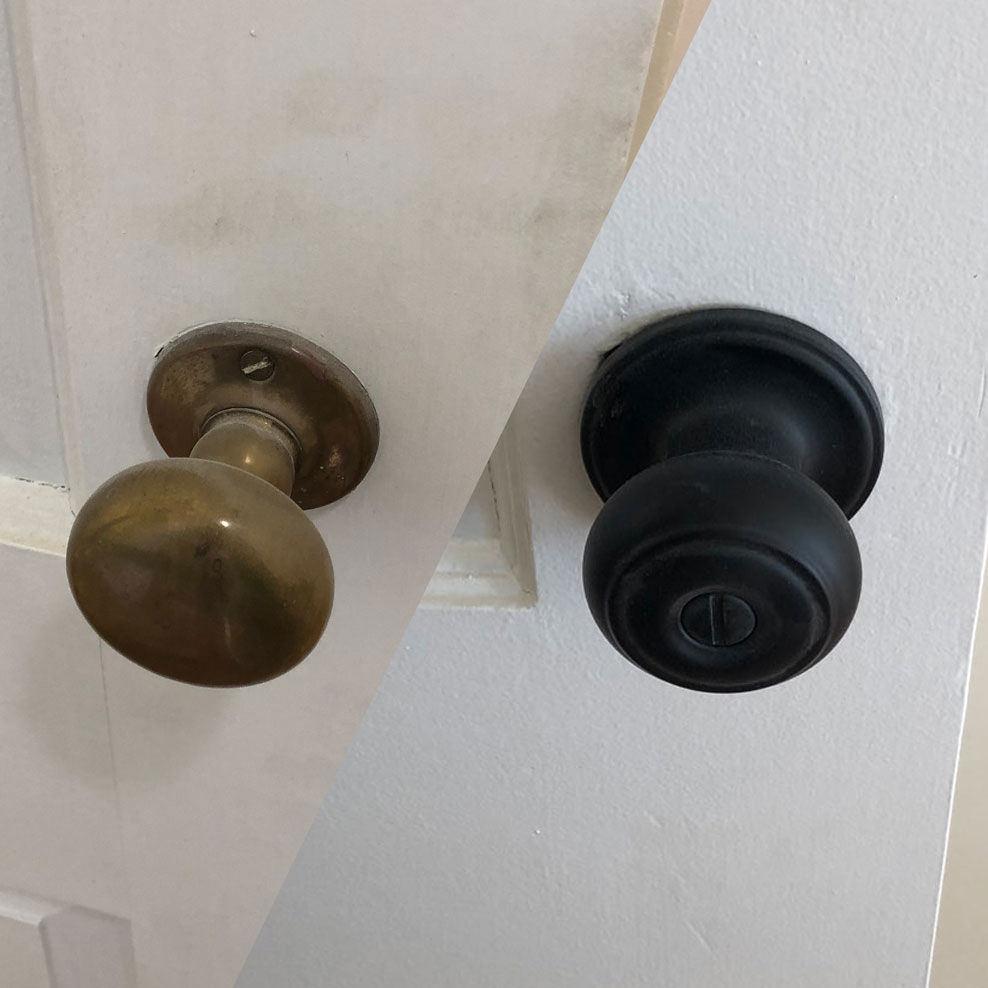
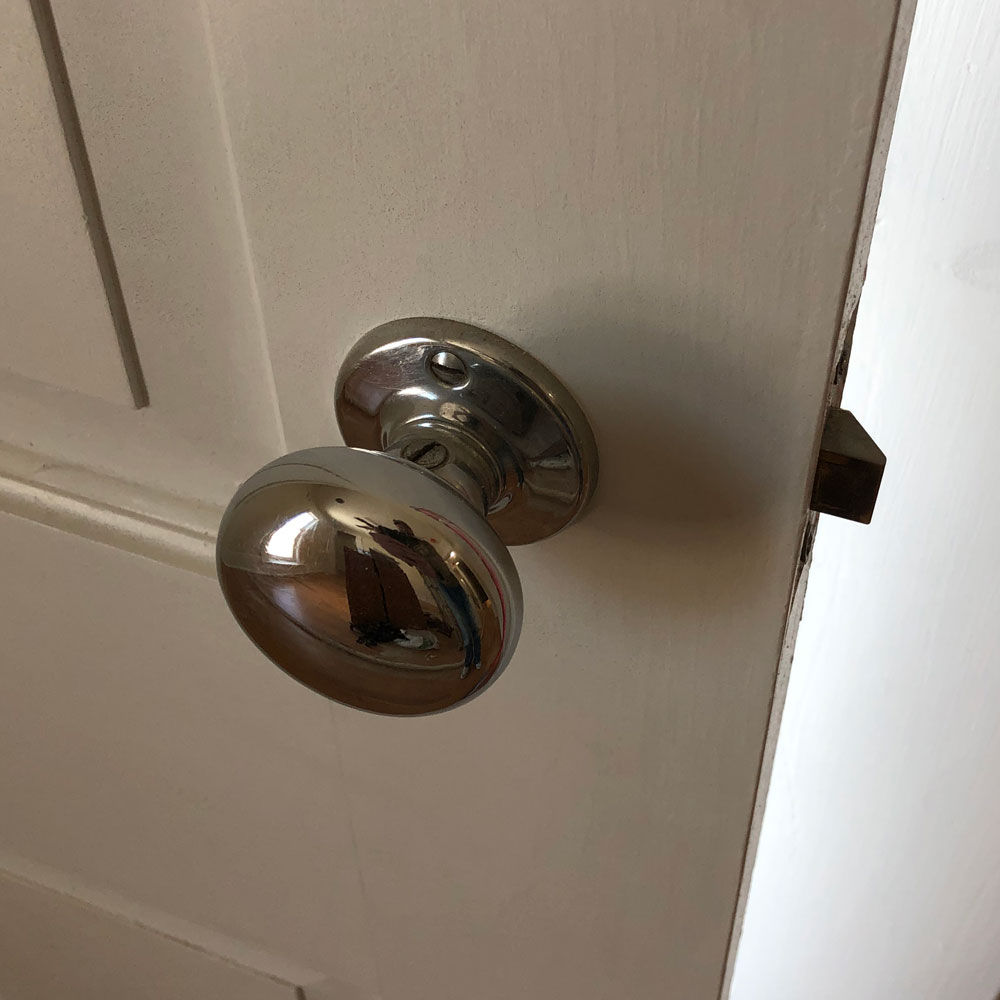
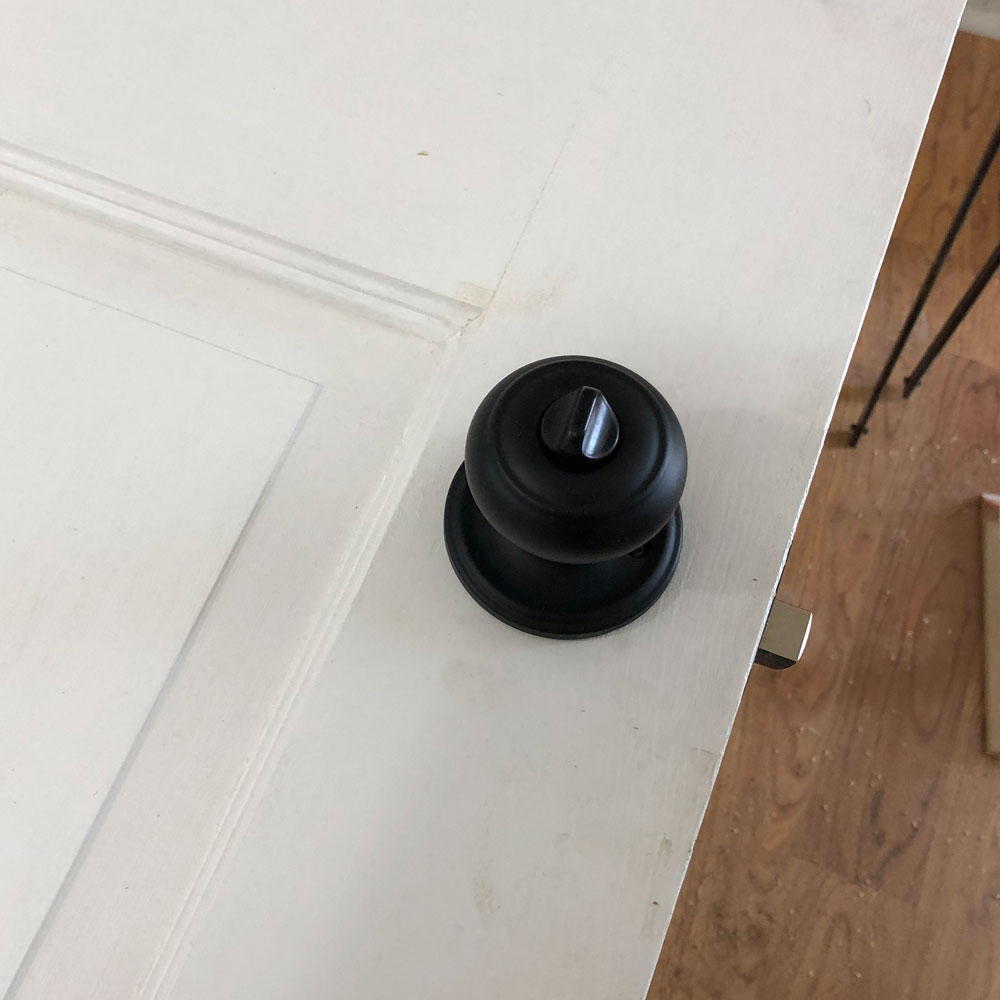
Early on in the process, we bought an entire kitchen’s worth of cabinets, and I’ll have photos of those soon because they’re finally installed. The seller was demolishing their entire house so we also got seven used doors, solid wood. Unfortunately they had to have the paint stripped and be repainted, but that’s another post. Some were missing knobs, and most of the knobs didn’t match, and were all this brass style that was popular in the 80s. I’m going for a more classic black and white look, so I found these knobs on Amazon.
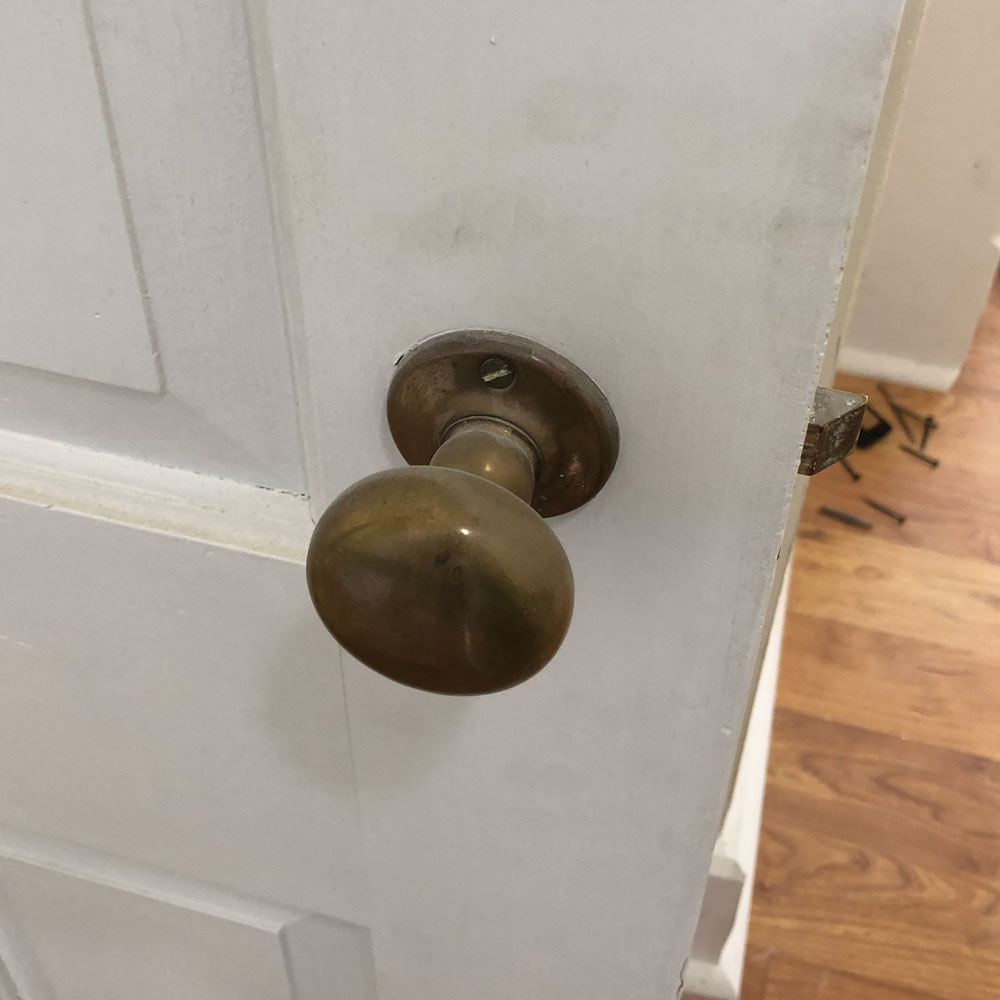
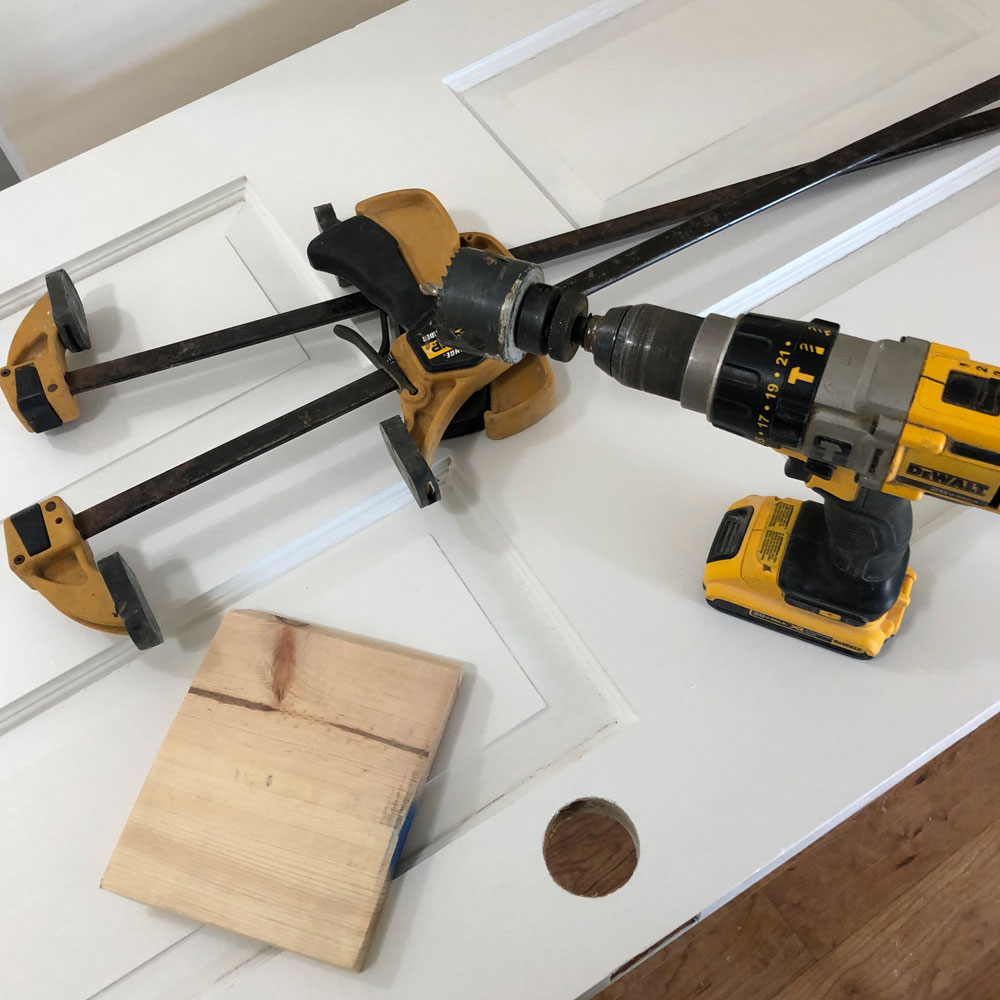 About half of the old knobs were of the style that uses a very small hole in the wood of the door, so I decided that trying to cut the new hole freehand would produce pretty bad results, especially considering I’ve already painted the doors. So I got two clamps and a leftover piece of floor trim to make a template. I’m using a 2 1/8” hole saw as per the directions included with the new knobs.
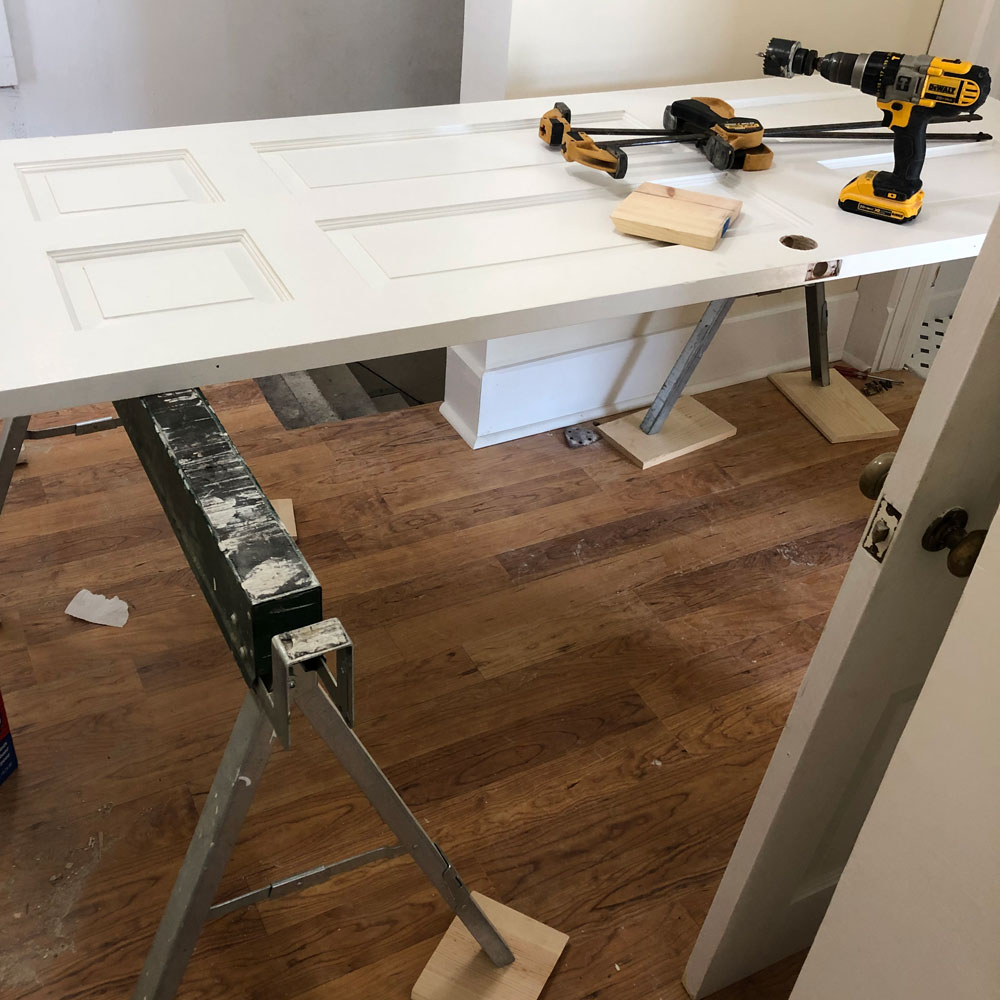 I setup my sawhorses in the hallway, which turned out to be a cramped affair, but required the least amount of moving the doors around, and other things out of the way. I used more trim scraps to protect my floor.

I clamped the scrap to the underside of the door, with the cut edge flush to the door edge, and cut a hole in the scrap through the hole of one of the doors that already had a new style knob.
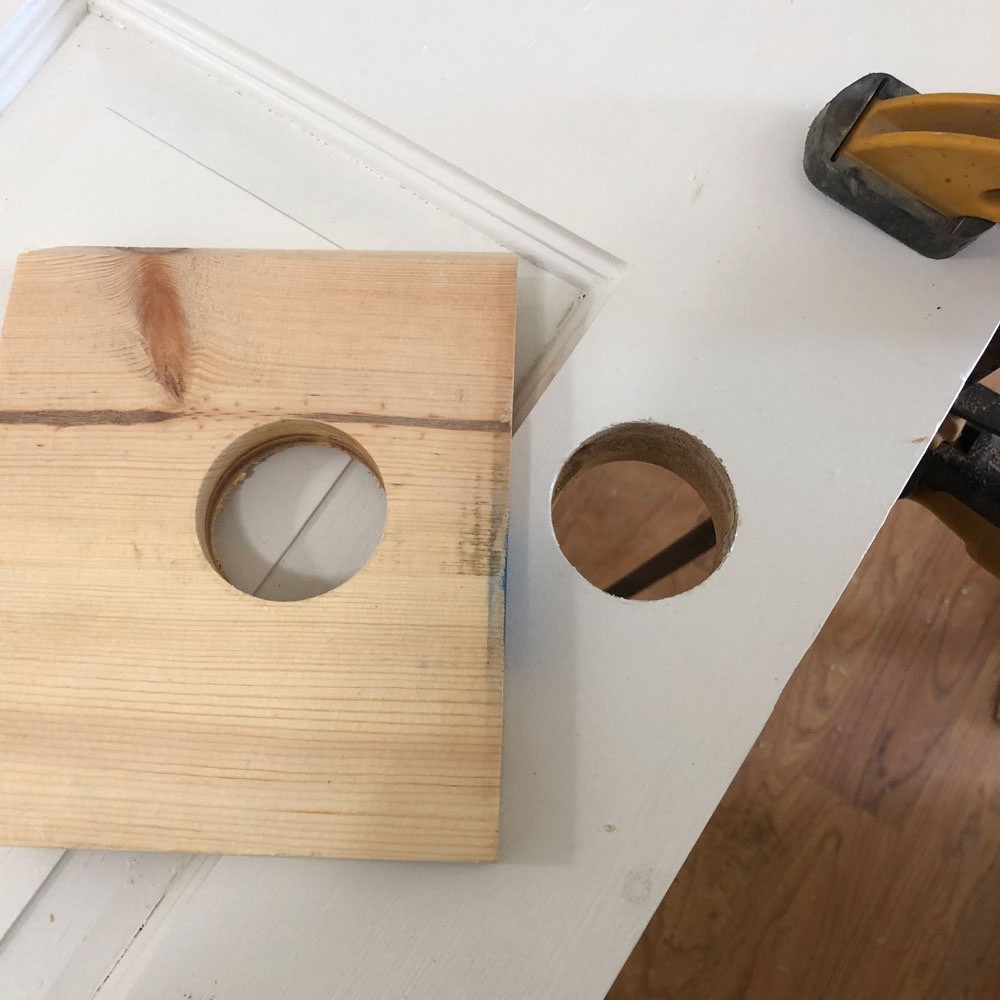
And the result, a cutting template.
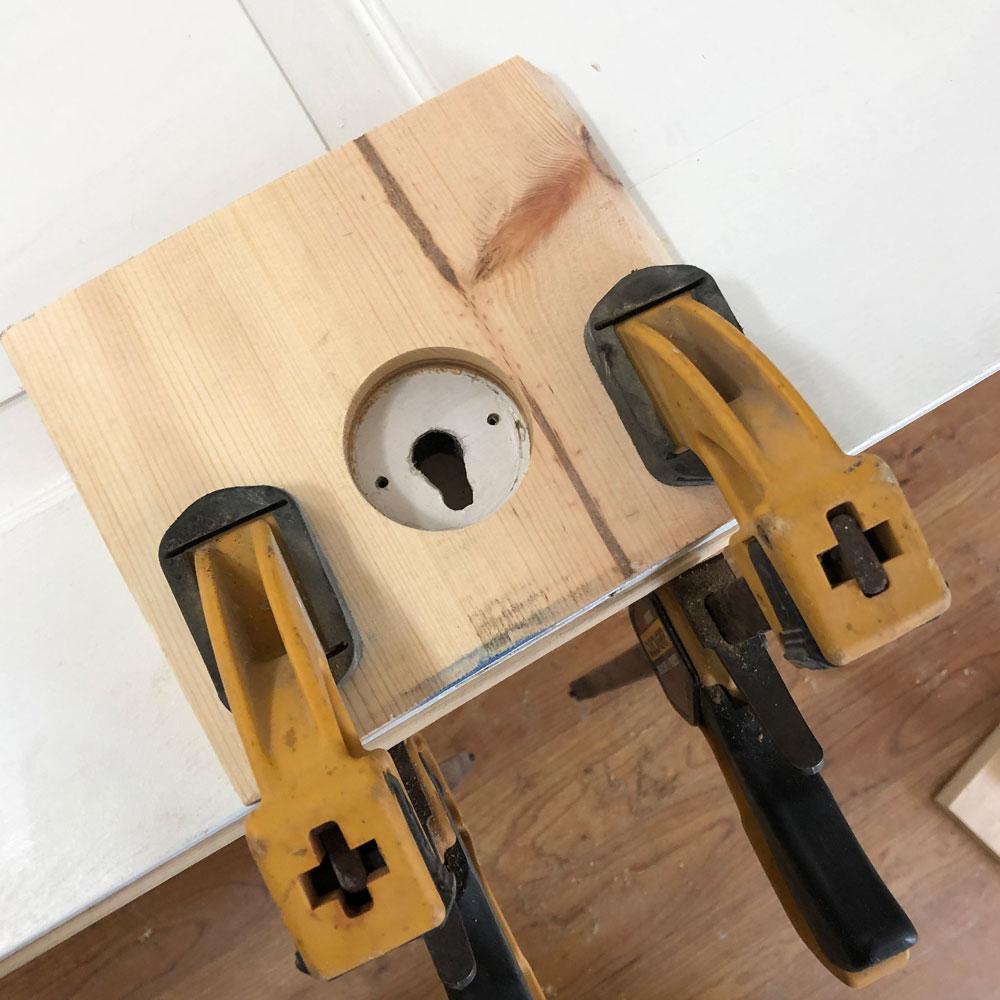
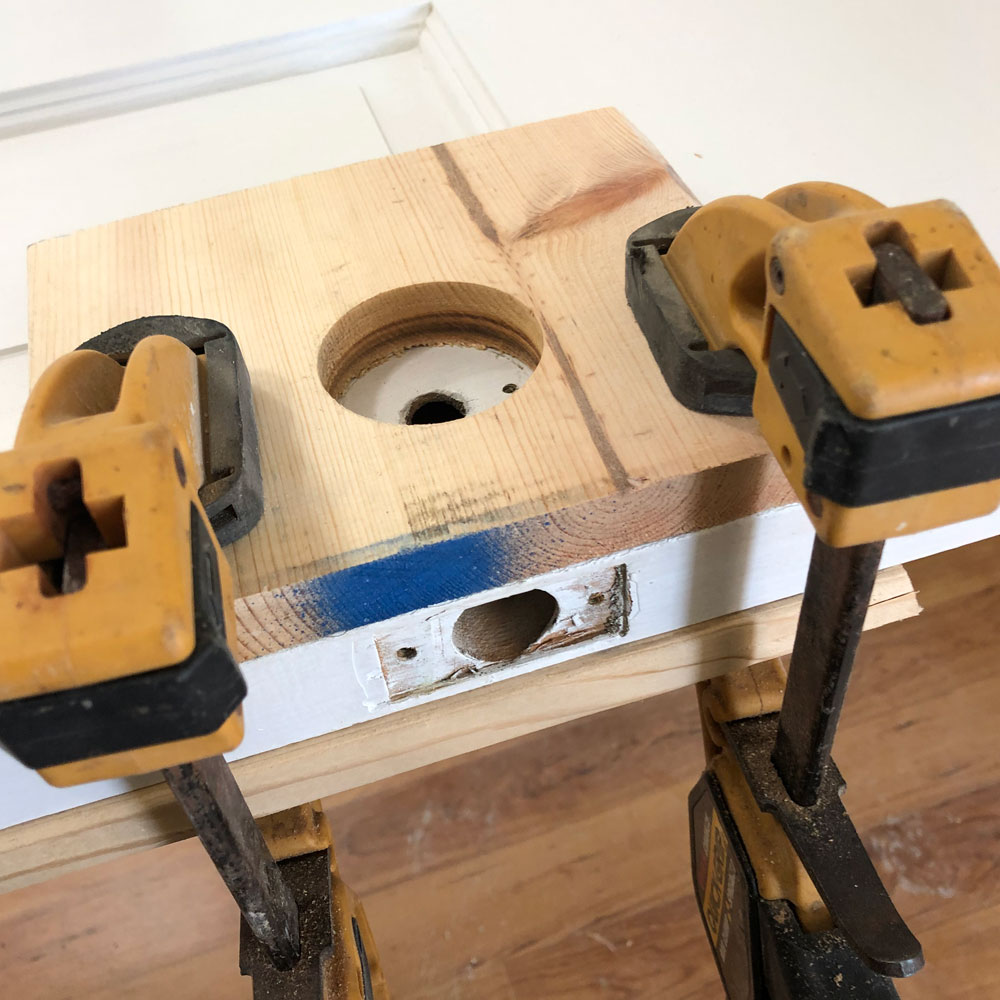
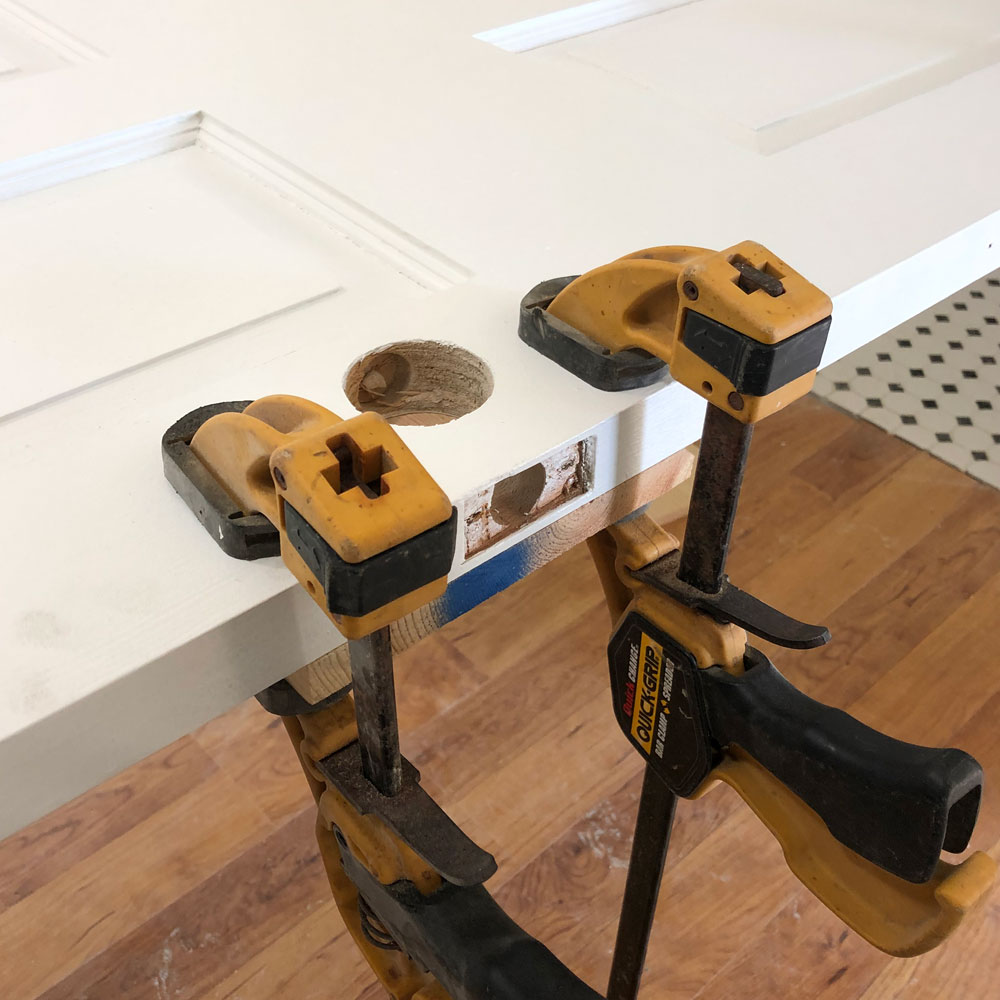
Then I clamped the template on top of the old door. I used another scrap on the bottom, to prevent the hole saw from tearing a bunch of big splinters in my new paint job.
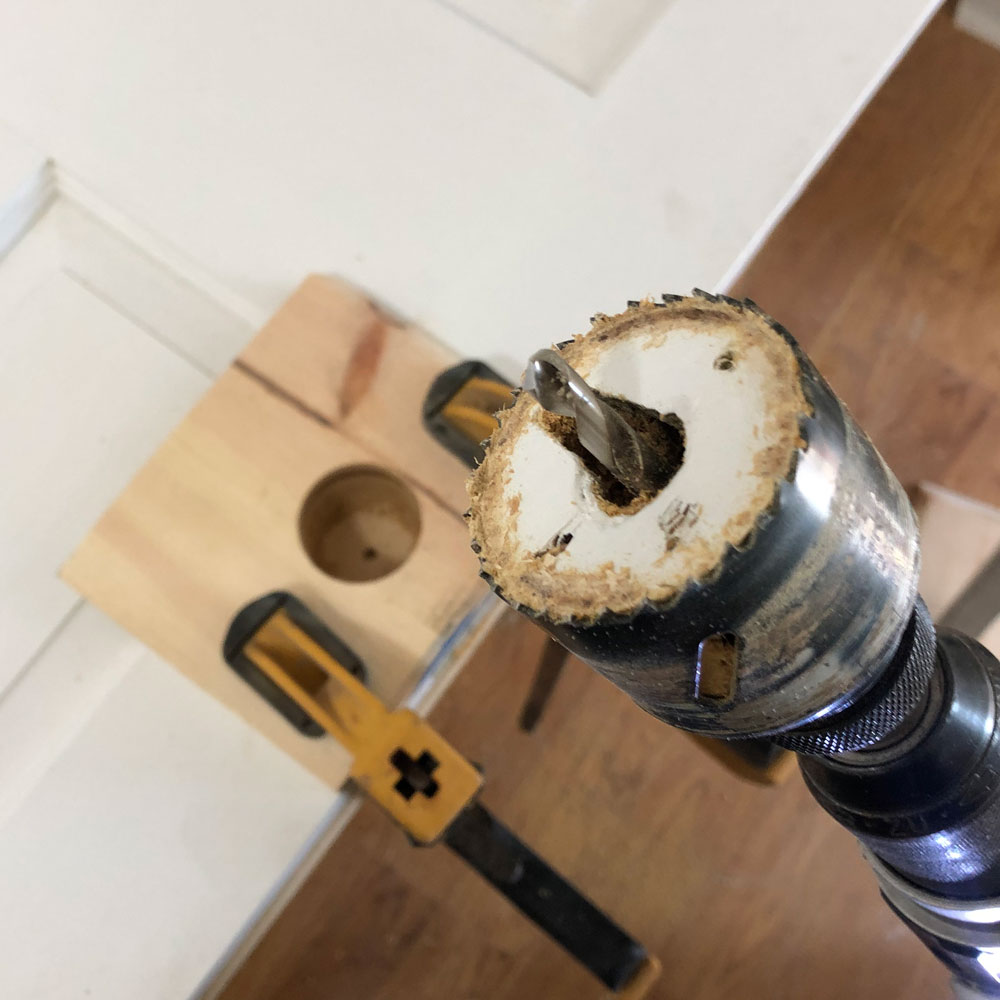

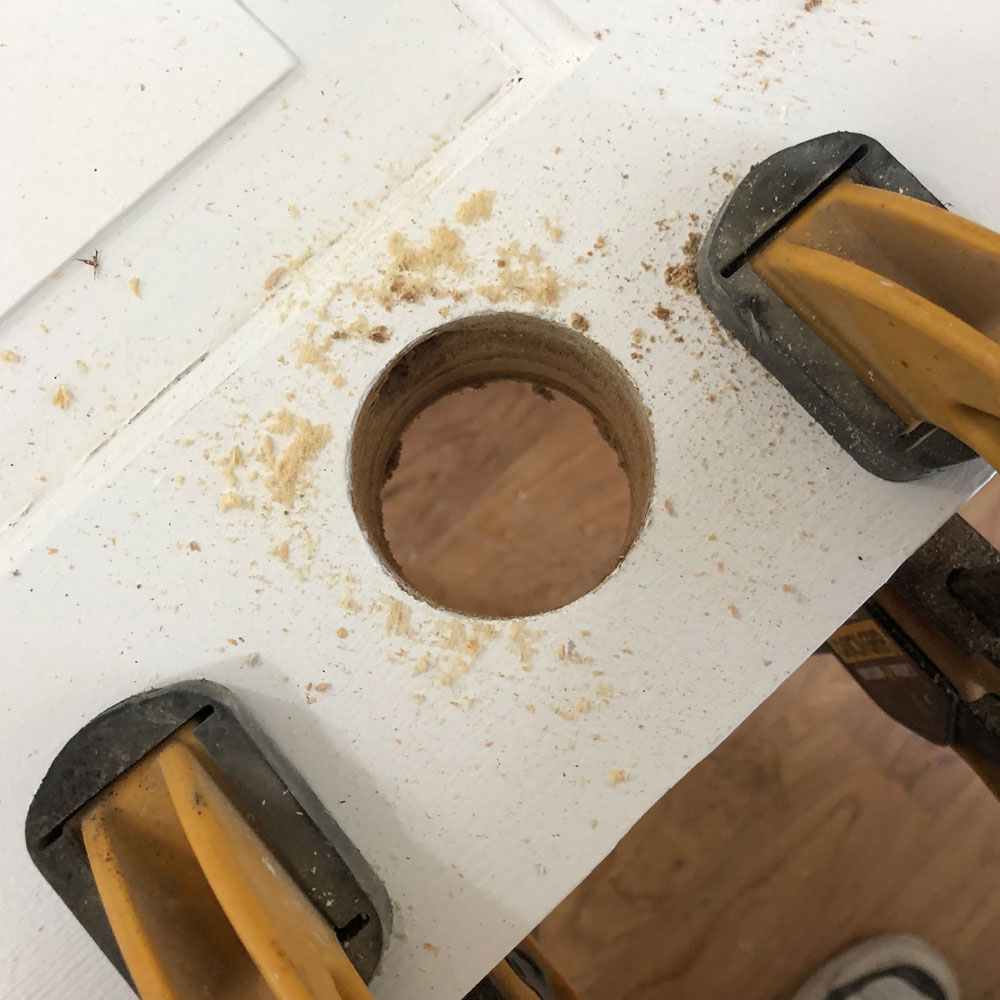
Then cut out the new hole, and remove the template and scrap piece.
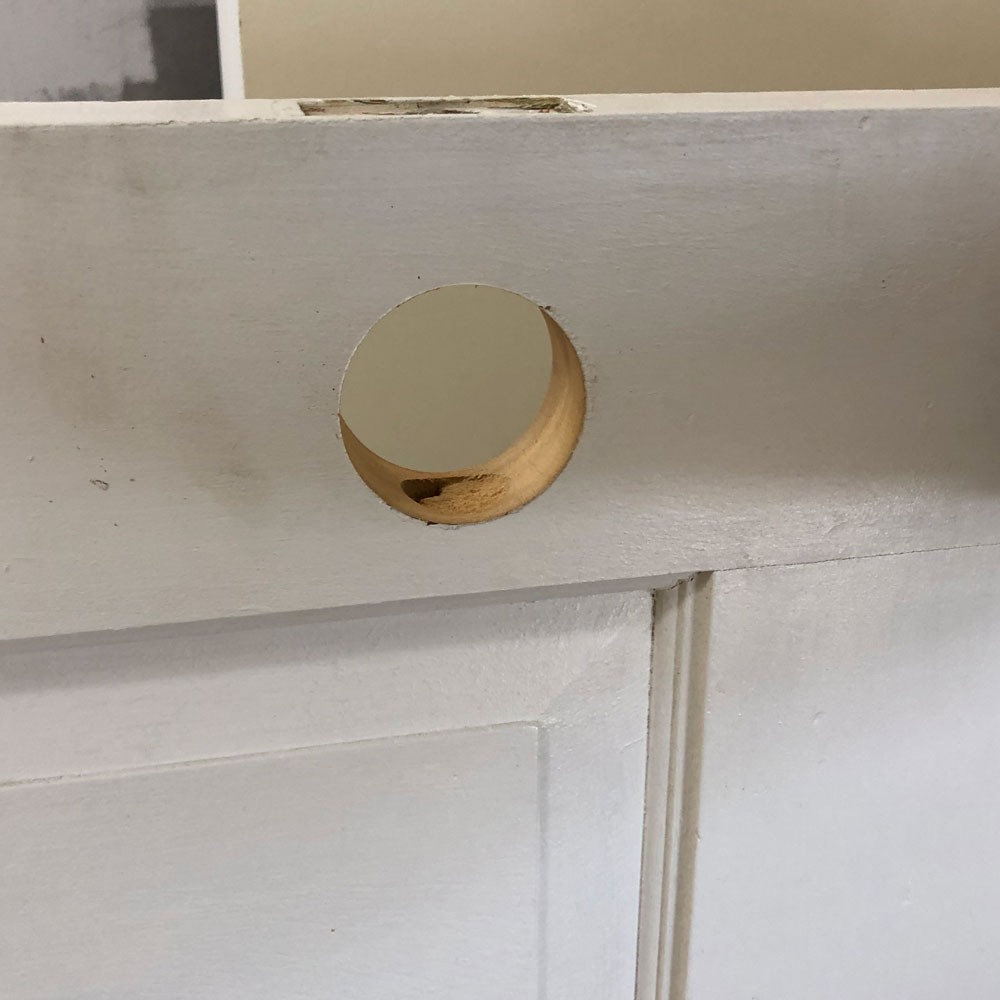
Leaving a clean new opening for my new doorknob.
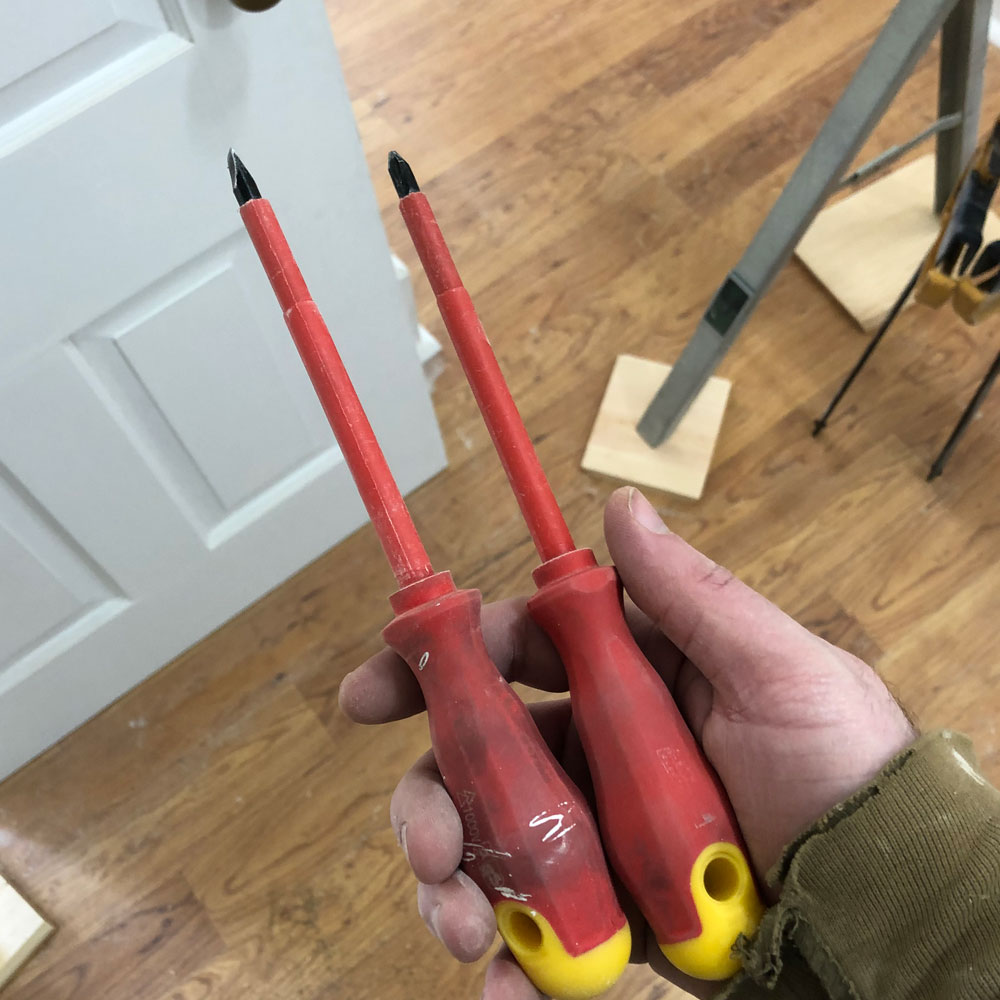
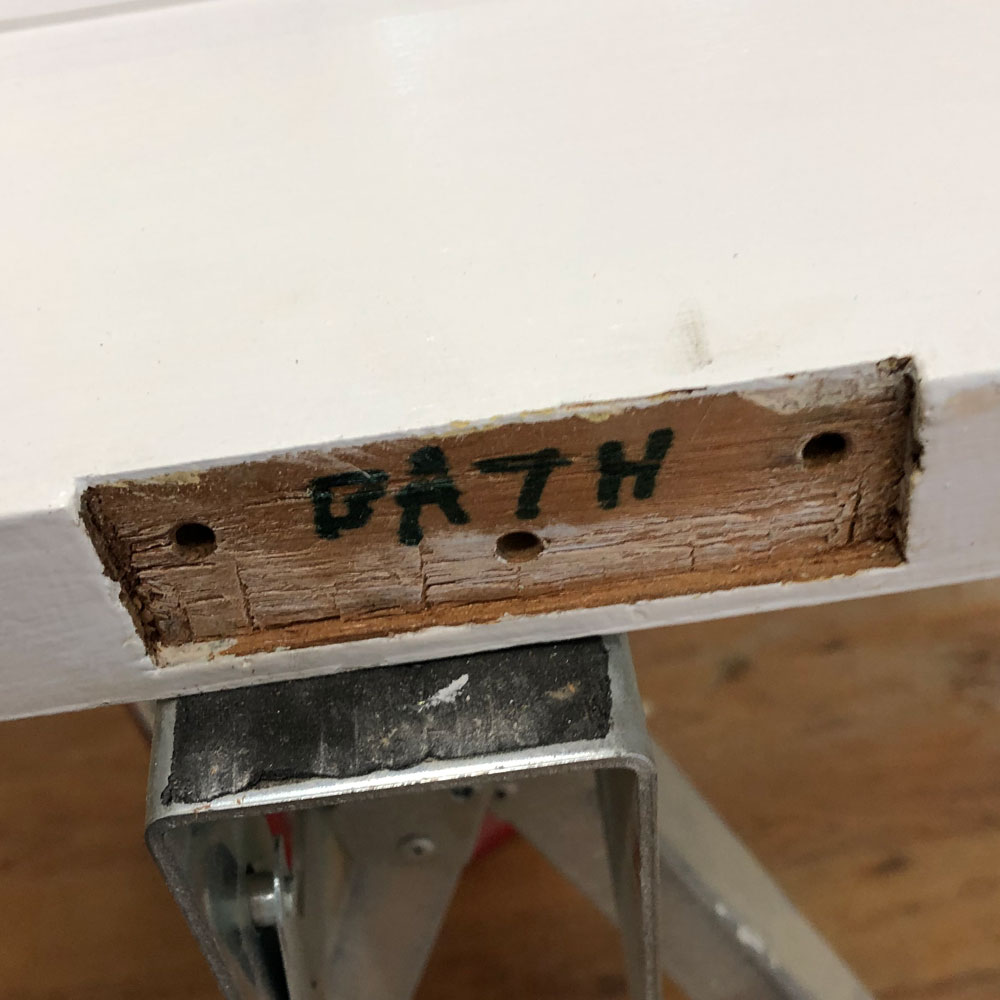
Two general tips here. We have a few sets of these screwdrivers, they are for electrical work and have rubber insulation around them so you don’t get shocked, but they are very handy for installing doorknobs without scratching the finish. And when I was preparing and adjusting these doors I labelled them behind the hinges, so it wouldn’t get painted over.
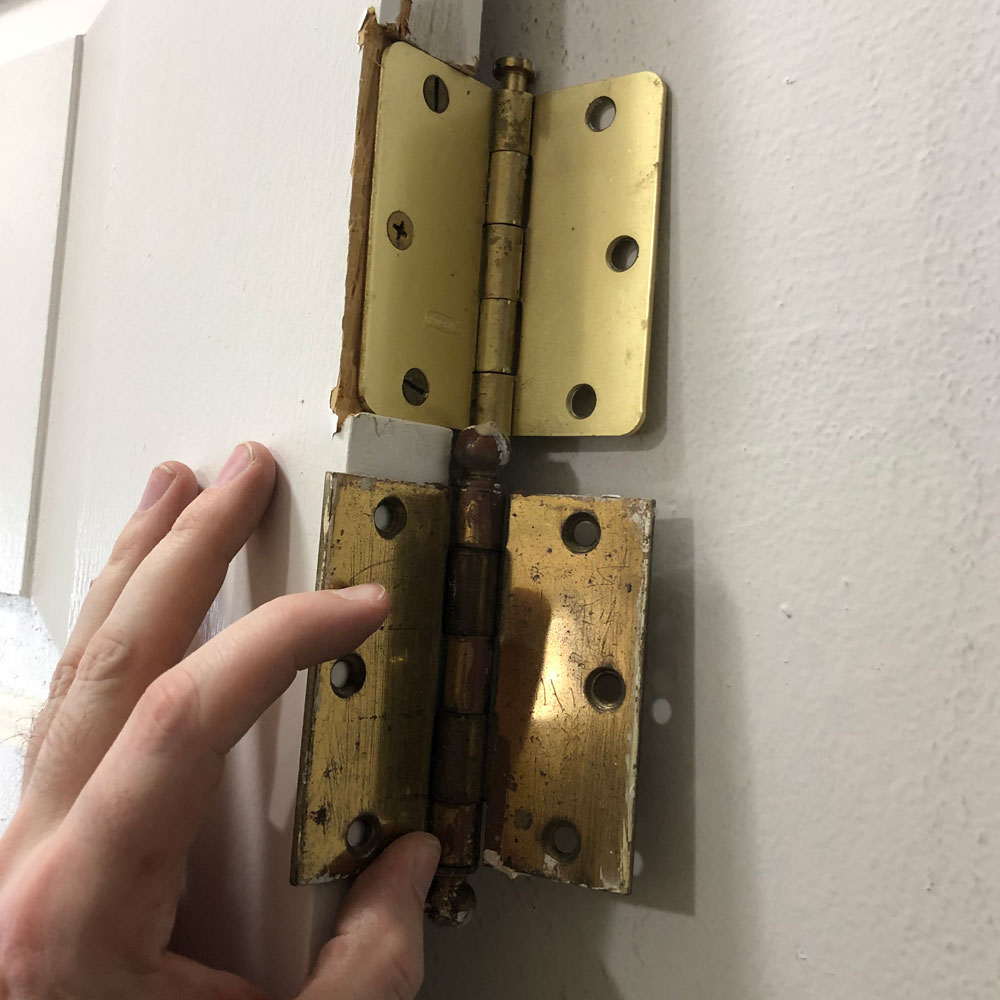
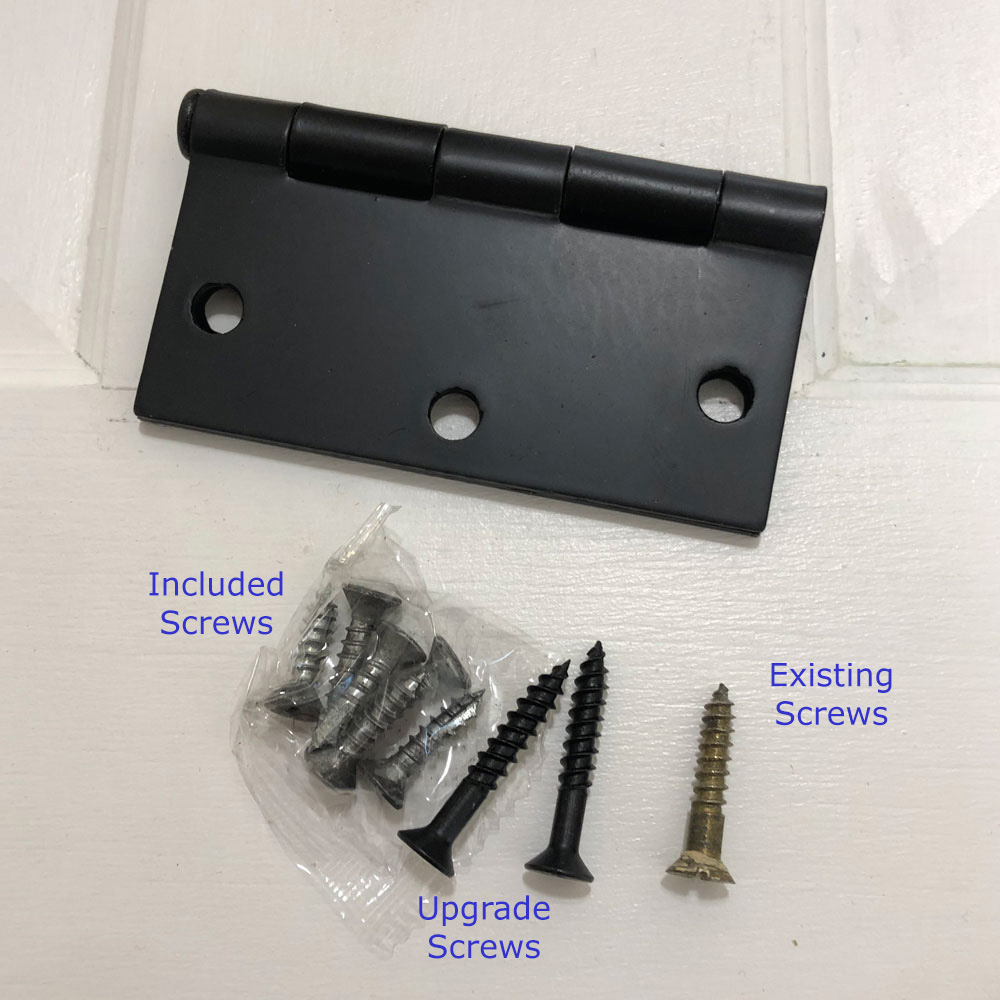
One final piece to cap off my black and white look. The old hinges were equally inconsistent and brass, so I replaced them as well. I got these hinges on Amazon, but I had to also get better screws, the ones that come with the hinges are about half an inch long and were useless in these doors that have had their hinges removed and replaced a couple times. Fortunately someone in the amazon comments recommended these as a replacement.
I’ll be going through my old photos and Instagram posts in the next few days, and I’ll have some more updates. I may post date them if it’s not too weird, we’ll see.